Step 1 – Add a Category
The category is important because each product matrix you create will be based on a category. To configure Categories, please see the Categories section for more information.
Step 2 – Add Products
Ten Product Matrix requires Products to be. To configure Products, please see the Products section for more information.
Please Note: When adding products please note the image uploaded for a product is resized to a small thumbnail that is displayed in the product matrix.
Step 3 – Add Product Matrix
From the store admin menu click the “Product Matrix” button
The following screen will be displayed when you click Product Matrix.
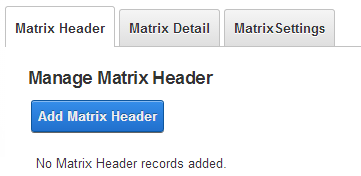
Step 4 – Add Matrix Header
Enter the one or two rows of titles for the product matrix.
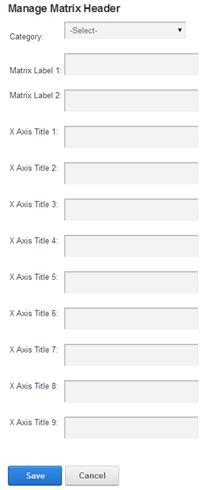
After entering the matrix title information click the “Save” button to save the Matrix Header.
Step 5 – Add Matrix Details
Enter the products for the matrix. Click the “Manage Matrix Detail” button on the top toolbar and the following screen will be displayed:
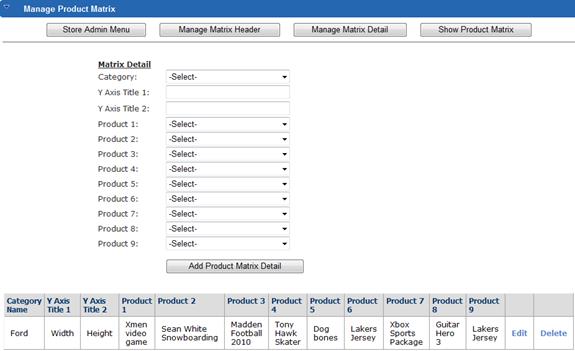
Figure 28 - Manage Matrix Detail Screen
The manage matrix detail screen above allows you to add, edit and delete product rows in the matrix. The “Y Axis Title” fields are the left most two title columns of the matrix. The fields labeled “Product 1-9” are all dropdowns lists where you can select the product you want in a particular column of the matrix.
Please Note: On step 4 and 5 make sure you select the same category for all the products you want displayed in the same matrix. Each unique product matrix is grouped by category and to display a product matrix in the front end cart the category id is passed in the query string (URL).
Step 6 – Matrix Settings
The manage Matrix Settings screen allows you to configure which Categories will be displayed on the Product Matrix page. Enter a comma separated list of Category IDs.
Click the Save button to save the Matrix Settings